

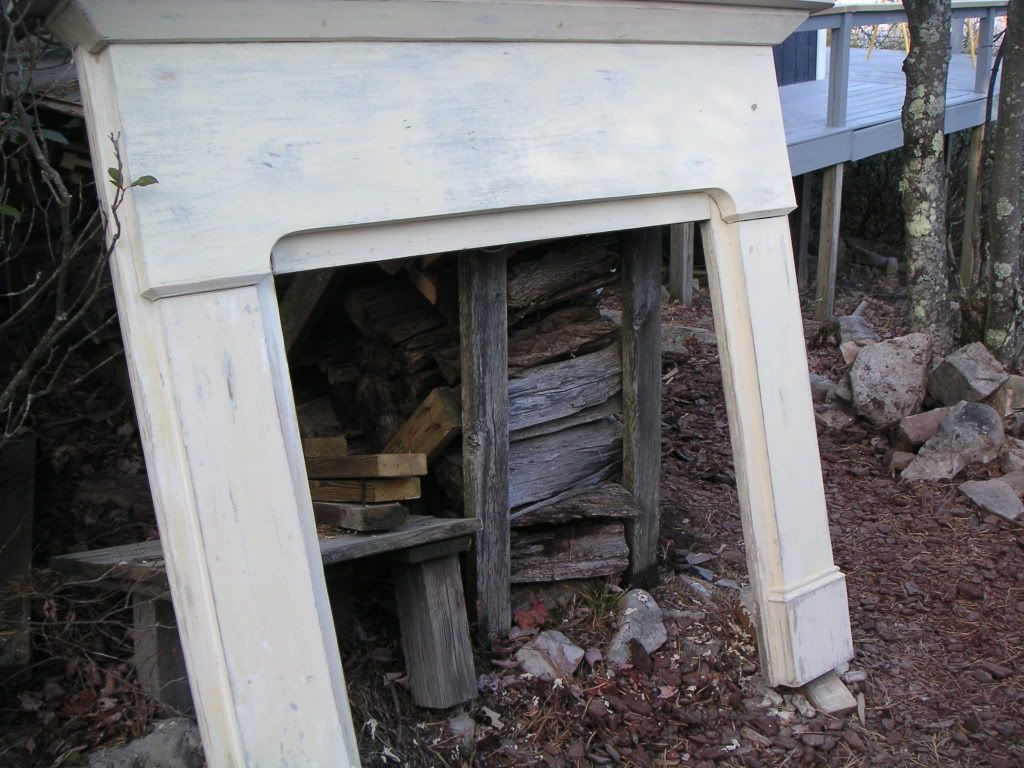
There was an old farmhouse not far from our home that had to be demolished and we were lucky enough to get one of the mantles.
This mantle was in need of some attention. We took it to the cabin and I worked on it there.
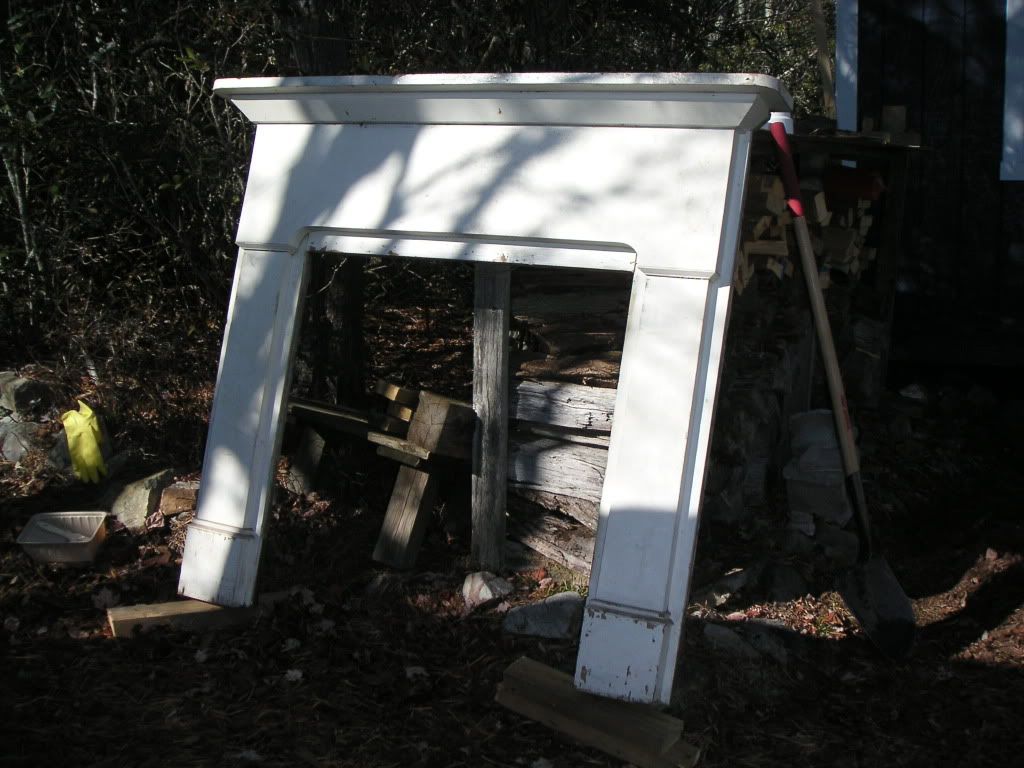 |
| Ready for attention |
Sorry about the shadows; it makes it easy to tell whether The Husband or I took the pictures. Guess who is not the photographer!

Lots of layers of peeling and chipping paint.
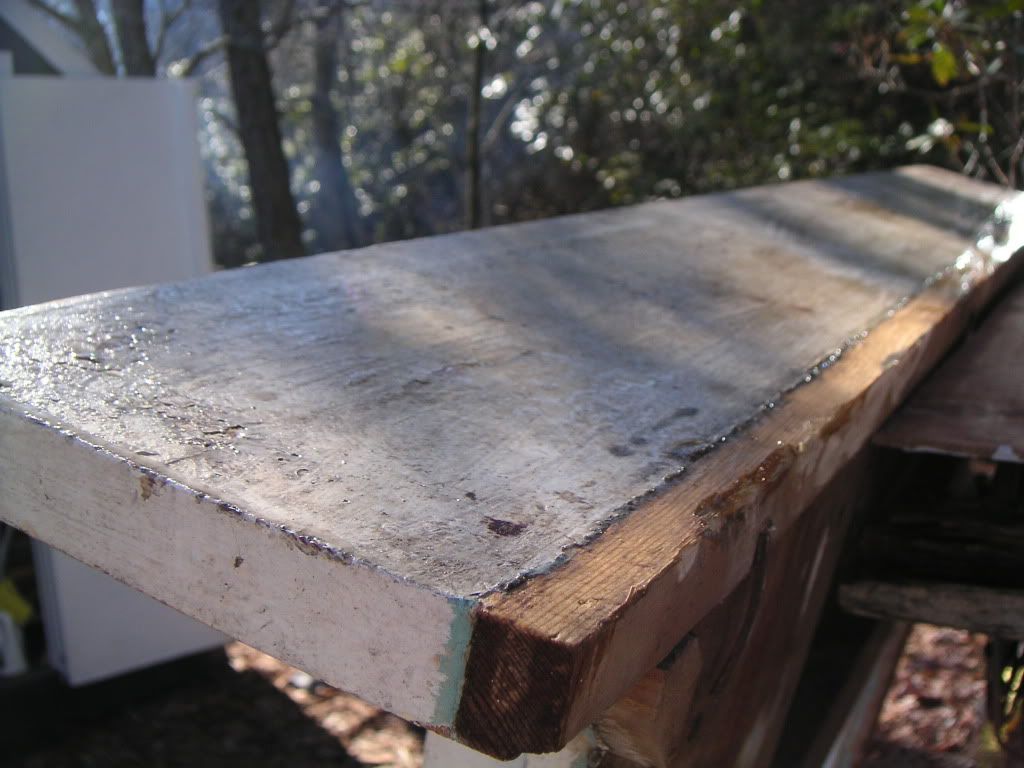
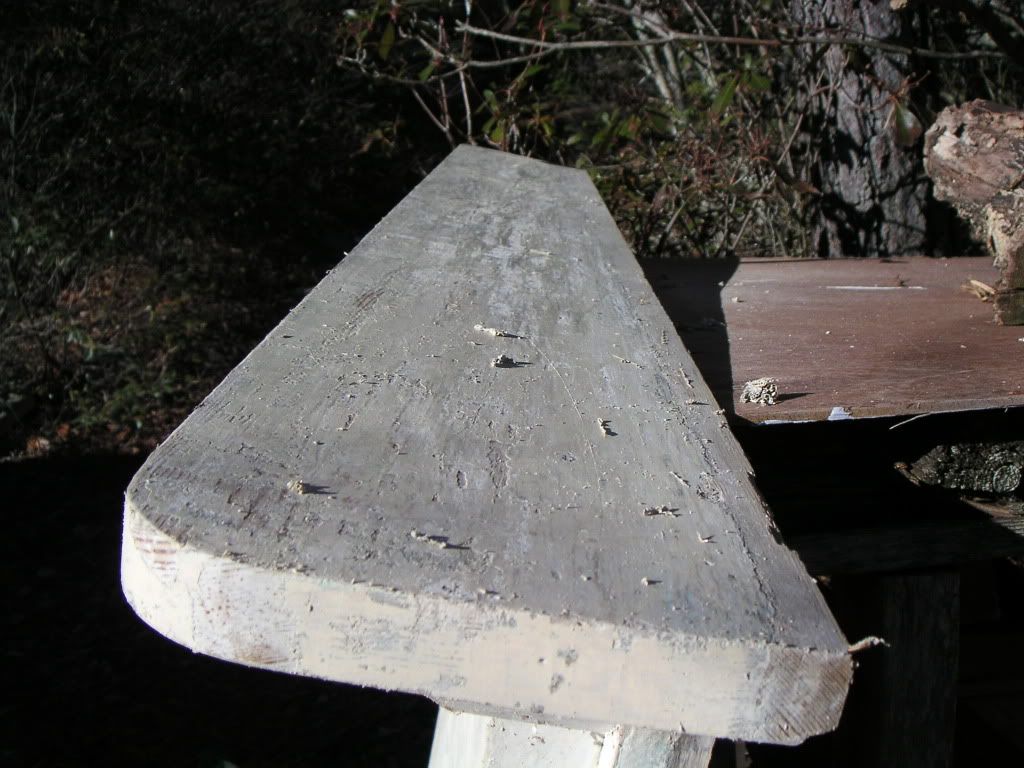
This was the layer of white coming off using a paint stripper. Then I started sanding to achieve the shabby chic look I was after.

and sanded some more!
After I had sanded to just the look I was looking for I gave it two coats of polyurethane.
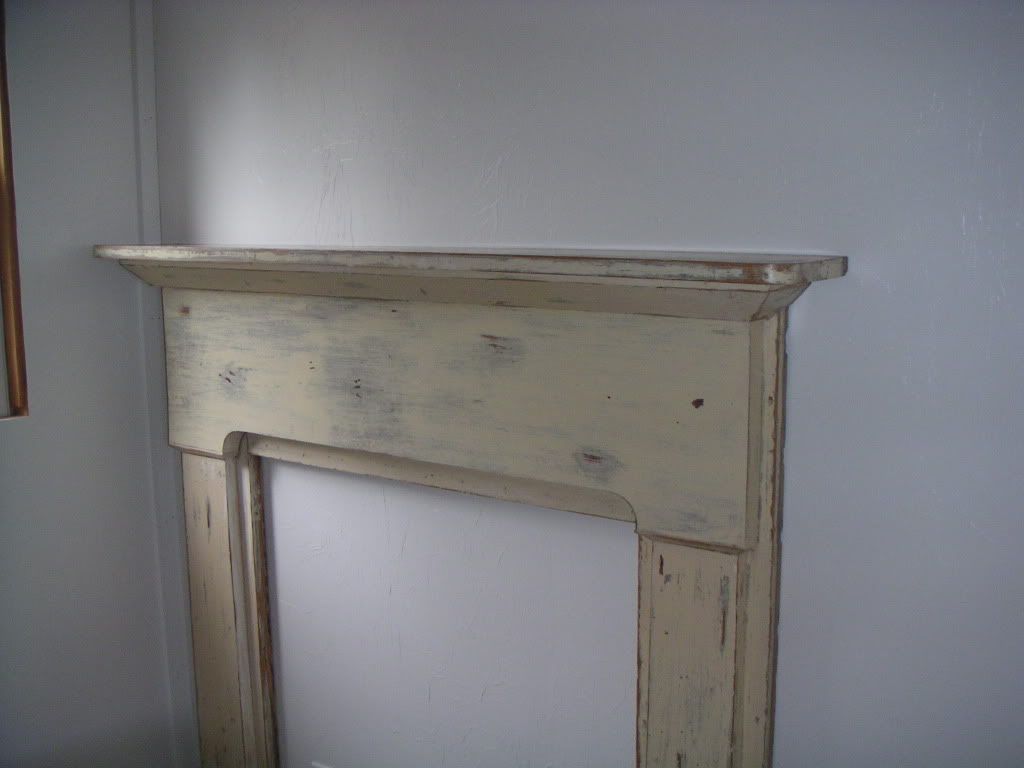
The carpenter then installed this on the bathroom wall. I plan on putting the clawfoot tub in front of it. I was really pleased with how the mantle turned out. Thanks Rosetta!
The bathroom is starting to take shape and I can't wait for it to be finished. Next, we install the clawfoot tub.
I'm glad you're here, pull up a chair and sit a spell.
Mountain Belle
0 comments:
Post a Comment