

 |
| our not so attractive ceiling |
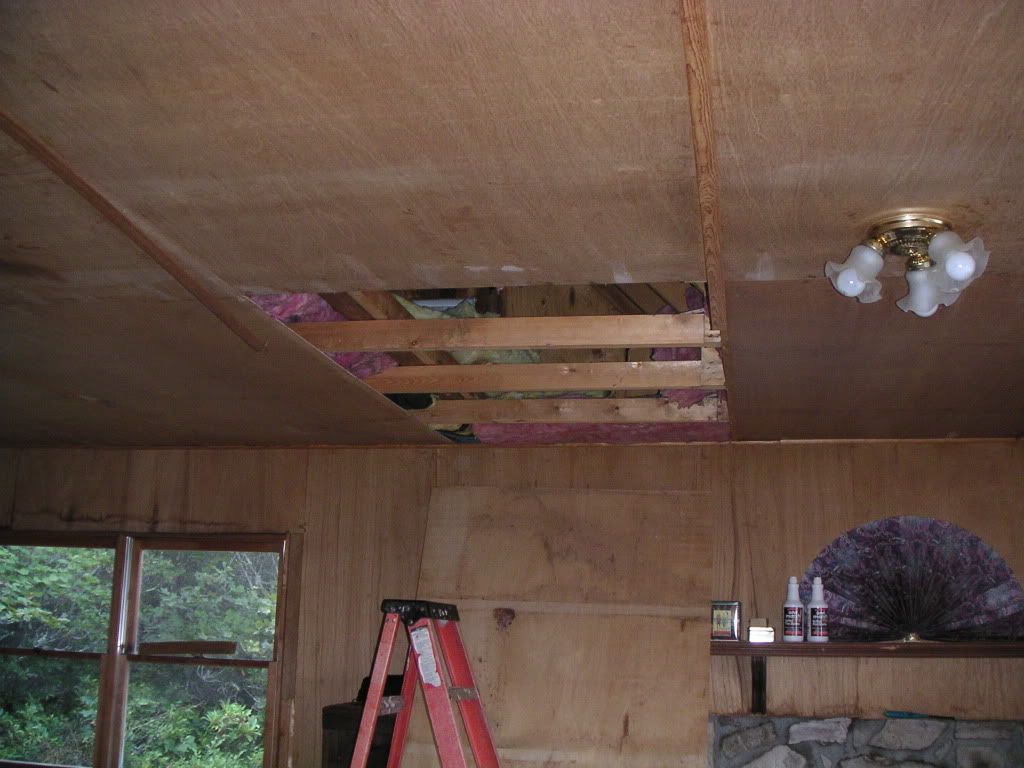
Our original plan was to leave all the trusses exposed and paint them; sadly that look was not to be. The trusses had ugly wood plates since it was built before metal plates were used. The trusses themselves were all rough cut lumber. This meant they all had pieces of insulation stuck to them and they were going to have to ALL be de-fuzzed and groomed before we could paint them and all the rough cut wood was going to be a real pain to paint; pink fuzz not the look I was going for.
It was going to be an extremely time consuming project so the original plan was vetoed. If it hadn't been for all that pink fuzz I was going to sic Darth Vader and his power spray painter on those trusses. I think those cool exposed trusses need to be planned for at time of construction and not after the fact.
It all worked out because I had a Plan B! (actually Mr. Carpenter did …. shhhh). We decided to have the ceiling re-engineered and vault it. Good idea Mr. Carpenter; let's do it.
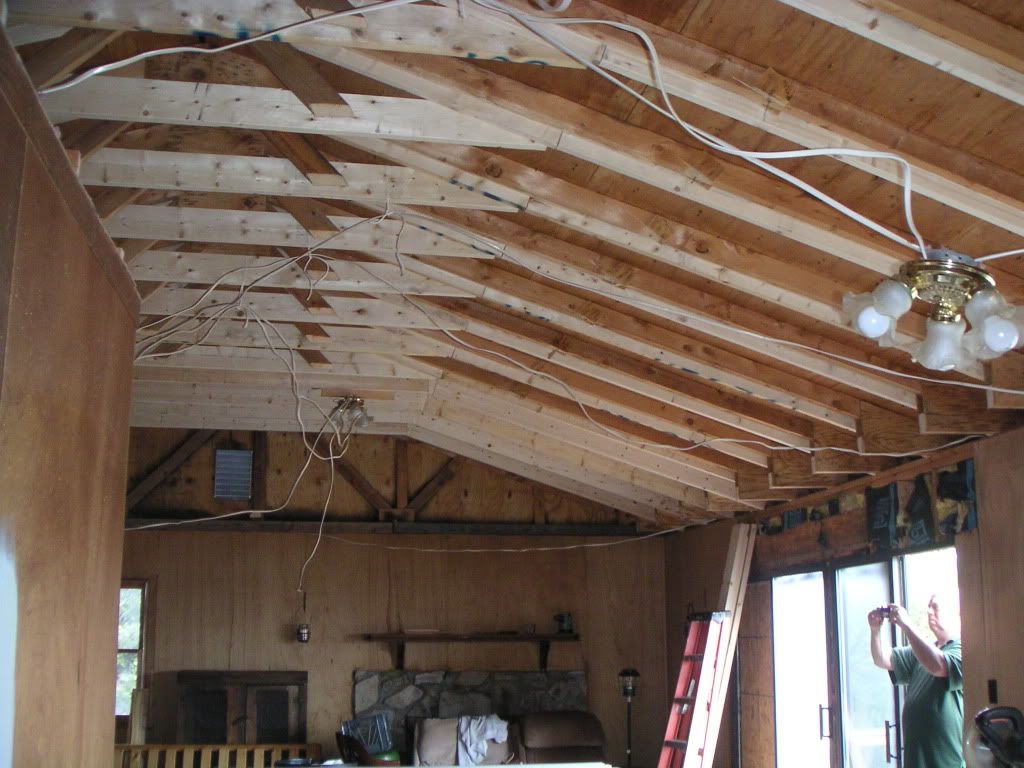
So, we began the long process of reworking the ceiling, supports and preparing for a tongue and groove vaulted pine ceiling. I have never learned to do things the simple way and decided that the pine needed a subtle white washing before being installed. I began experimenting with different colors and options till I found the one I liked. Subtle but pretty. Then….. the wood arrived. All the ceiling boards needed to be whitewashed and all the exterior trim pieces I had wanted needed to be primed and painted. Oh no!!! What was I thinking? I have to whitewash and paint all of those?
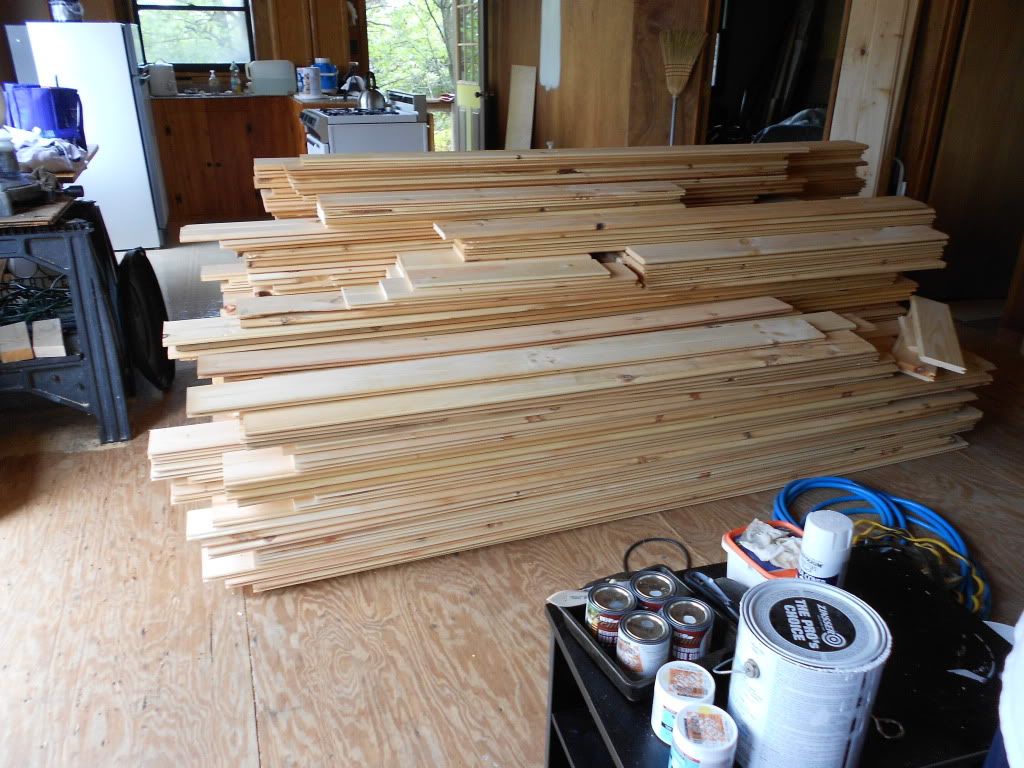 While the new supports and trusses are being taken care of I am up to my ears in boards to whitewash.
The Husband took this photo because he thought my "backside" would give folks an idea of how big that stack of wood really is by using my backside for comparison. Very, VERY funny!
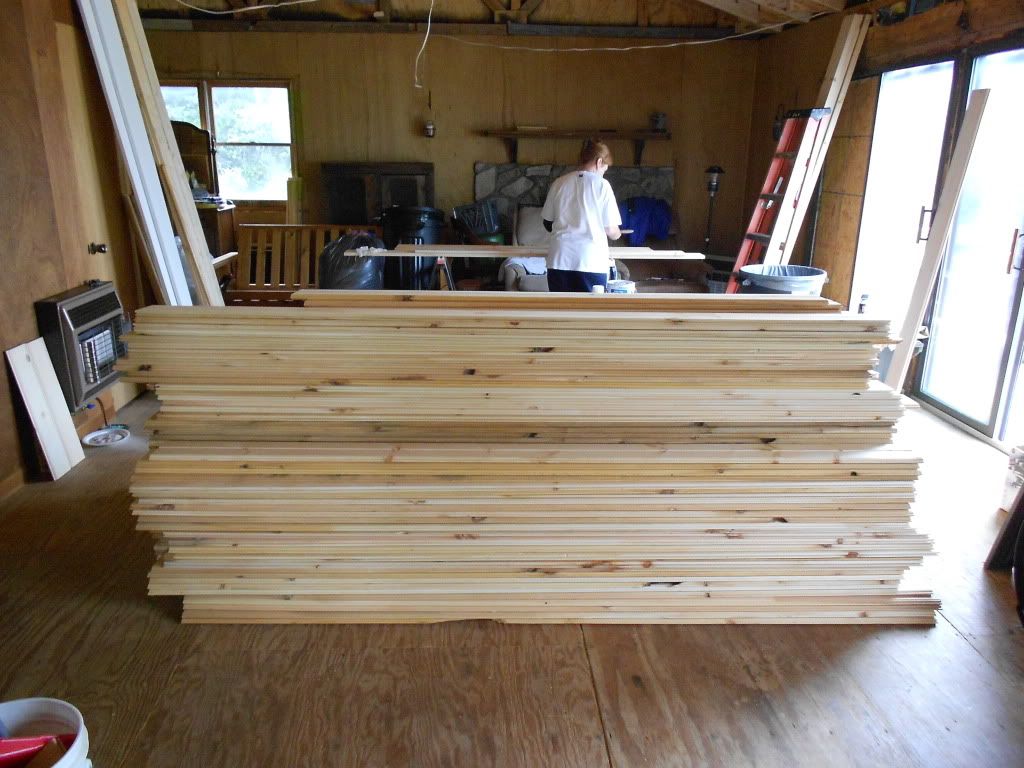 |
| Somewhere in New England there is lovely old covered bridge with very wide boards. The Husband used this same measurement technique (my backside) to show how BIG the boards were. Ha Ha! |
Thank goodness Mrs. Carpenter came to my rescue. She helped me whitewash board after board after board. She is actually there more than I am so she has actually whitewashed more than I have. Thank you Mrs. Carpenter!!!!! I was proud of myself when I finally finished all the exterior corner trim pieces (that were on site) to go on the cabin. Then …. Mr. Carpenter informs me that more are coming; all the new window trim pieces. Sigh, this is going to take a while folks.
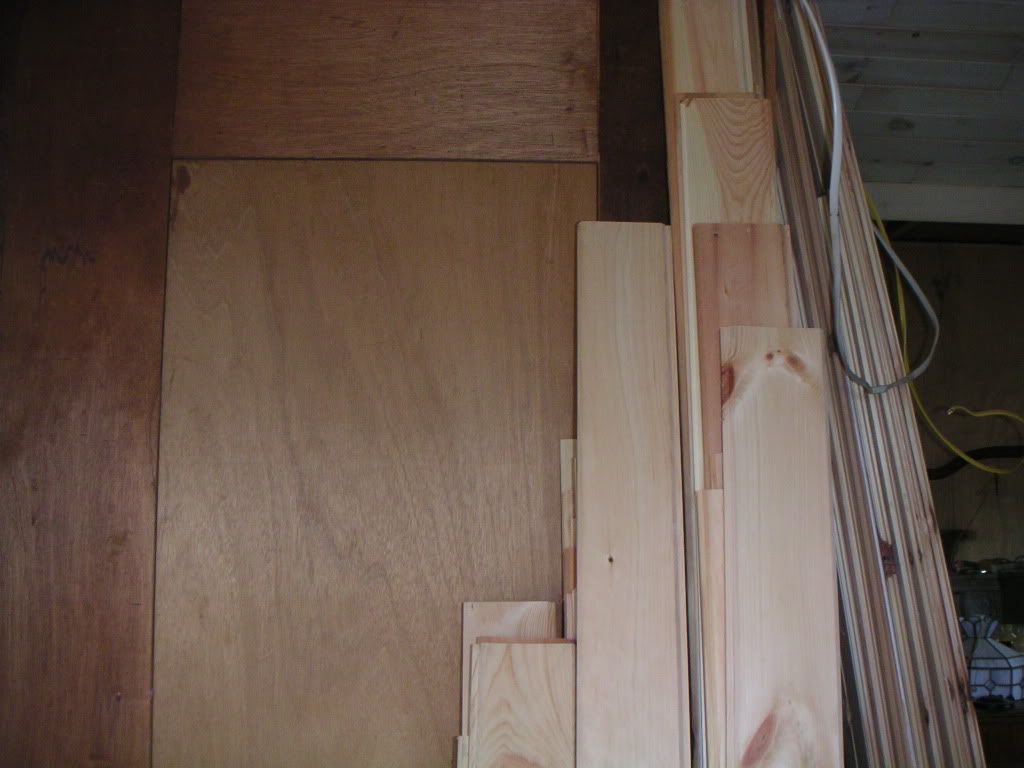 |
| Tongue & Groove boards before whitewashing |
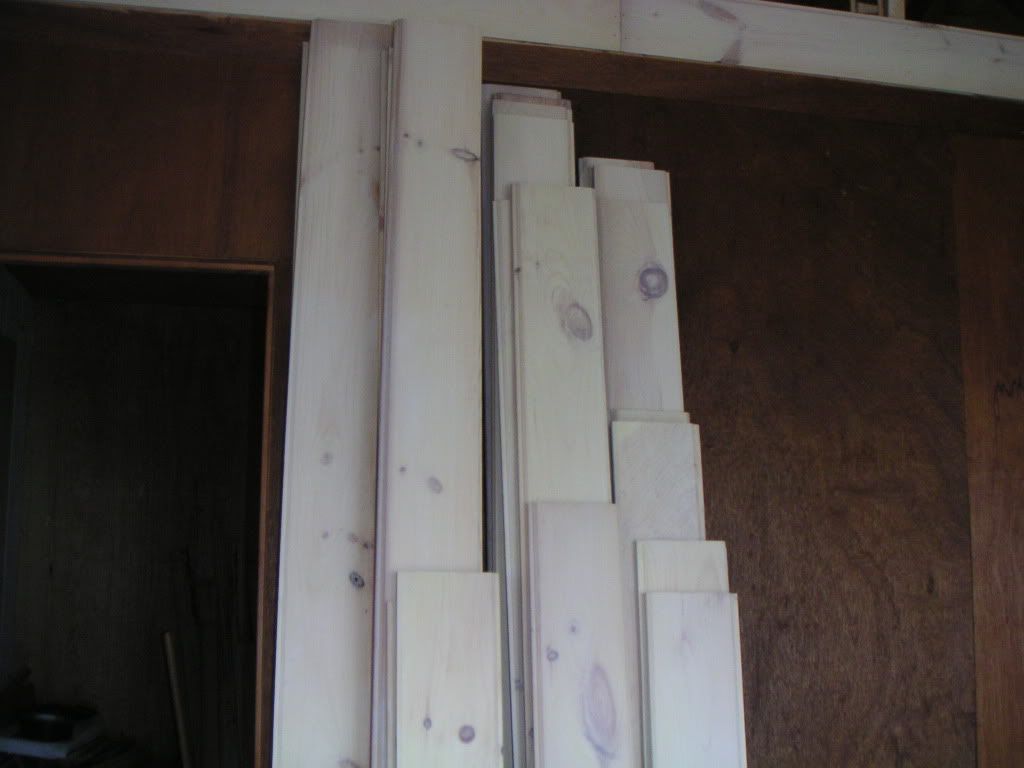 |
| After whitewashing. I'm really liking it. |
Trim painting and ceiling board whitewashing are rolling along and the new windows and doors arrived have arrived. Hooray!
I'm glad you're here, pull up a chair and sit a spell.
Mountain Belle
1 comments:
OHhhhhhhhhh, I like the vaulted and whitewash....I am so excited for you!!!!! I like the measurement technique too....backside. bahahahahahah.
Post a Comment